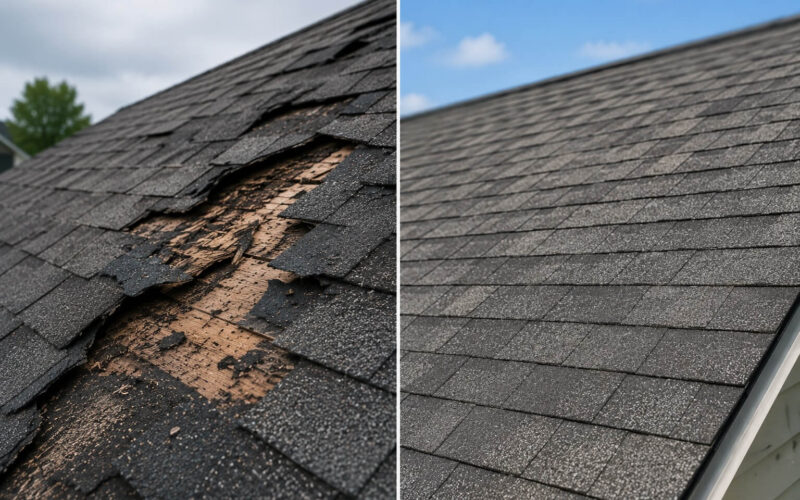
A storm just came through and you’re standing in your living room staring at a water stain spreading across your ceiling, or you just walked outside and found shingles scattered across your yard. What do you do first?
The steps you take in the 24 to 72 hours after storm damage can make the difference between a smooth insurance claim and a denied one. Between getting the full repair covered and paying thousands out of pocket. This guide walks you through exactly what to do, in the right order.
Step 1: Make Sure Everyone Is Safe First
Before anything else, check that your home is safe to be in. If you have:
- A large section of roof that’s collapsed or visibly sagging
- A tree or large branch that’s come through the roof
- Active water intrusion near electrical panels, outlets, or wiring
… leave the affected area and call a professional before re-entering. Water and electricity are a dangerous combination, and a structurally compromised roof section can fail further without warning.
For most storm damage, such as missing shingles, hail, and small leaks your home is safe to stay in. Use buckets to catch drip water and move valuables away from the affected area.
Step 2: Document Everything Before You Touch Anything
This is the most important step most homeowners skip.
Before you call your insurance company, before you call a contractor, before you throw away a single damaged item, take photos and video of everything. Thorough documentation is the foundation of a successful insurance claim.
What to photograph:
- Interior damage first: water stains, wet insulation, damaged ceilings, waterlogged belongings. If water has come in, you want to establish the interior impact before it dries out or gets cleaned up.
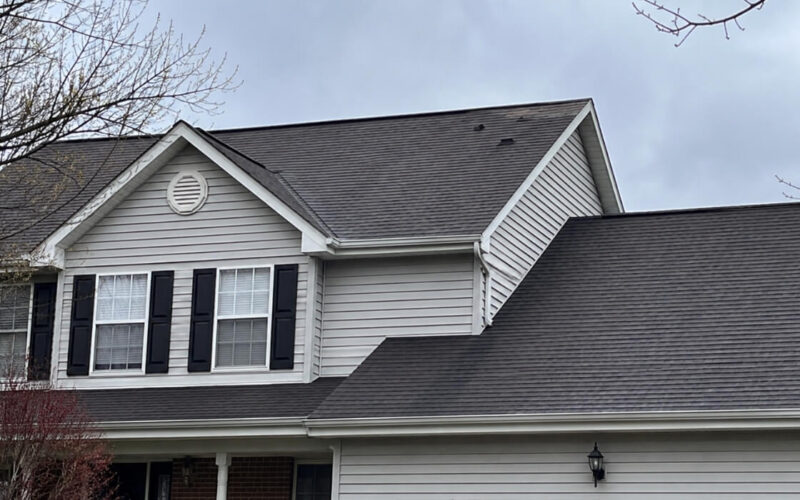
- Roof from the ground: take wide shots of the whole roofline and close-ups of any visible damage, missing shingles, or debris.
- Gutters: dented or damaged gutters are important evidence of hail size and storm intensity.
- Siding and windows: photograph any dents, cracks, or impact marks. Insurance claims often include siding and gutters when the damage was caused by the same storm event.
- Yard and surroundings: photograph downed branches, scattered debris, and any shingles that ended up on the ground. Shingles in the yard are evidence; photograph them before moving them.
- Damage to other property: a dented AC condenser, a cracked window screen, a damaged fence. All of it establishes the intensity of the storm event.
Include your address and the date in your photos. The easiest way is to include a piece of paper with the address written on it, or use your phone’s location-stamping feature.
Step 3: Prevent Further Damage (But Don’t Do Major Repairs Yet)
You have a responsibility under your insurance policy to prevent additional damage from occurring after the initial storm event. That means:
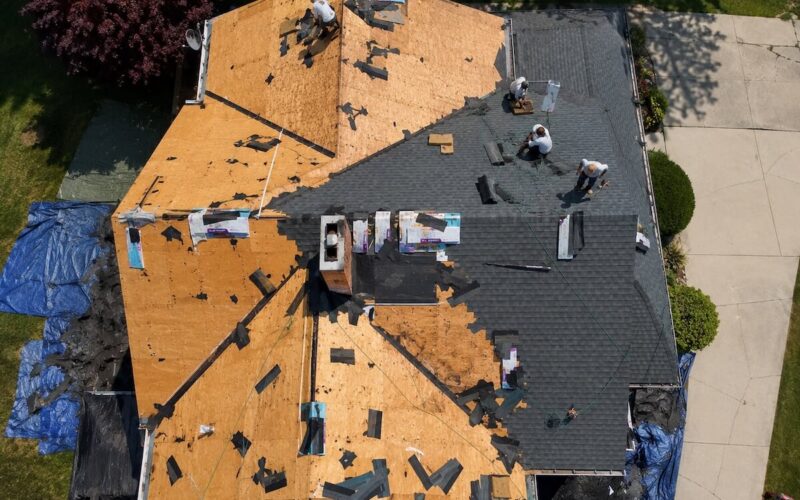
- If you have a significant breach in the roof, cover it with a tarp to stop water from getting in. Use proper roof tarp clips or weighted edges, don’t nail anything directly into damaged decking if you can avoid it.
- Move valuables, electronics, and furniture away from any active leaks.
- If water has pooled in a ceiling, carefully poke a small hole at the lowest point to let it drain in a controlled way rather than letting it build until the ceiling collapses. Put a bucket underneath first.
What not to do: Don’t start replacing shingles or making permanent repairs until your insurance adjuster has inspected the roof. If you repair damage before the adjuster sees it, you may have a difficult time proving the extent of the original damage, which can reduce your claim payout.
Emergency tarping and temporary protective measures are fine and expected. Permanent repairs before adjuster inspection can hurt your claim.
Step 4: Call a Local Roofing Contractor Before You Call Your Insurer
This surprises most homeowners, but the sequence matters.
When you call your insurance company to open a claim, the clock starts. An adjuster will be scheduled to inspect your roof, often within a week or two, sometimes sooner after a major storm event. That adjuster works for the insurance company, and their job is to assess damage efficiently. They typically spend 10 to 20 minutes on a roof and move on.
If you get a professional inspection done first, before the adjuster arrives, you’ll have:
- A detailed damage report documenting every impact, every compromised shingle, every dented vent
- Photo documentation taken by someone who knows exactly what to look for
- An estimate of the full scope of repairs
- A contractor who can attend the adjuster inspection alongside you and advocate for a complete assessment
A good local roofing contractor will do this inspection at no cost. At Python Roofing, our storm damage inspections are always free with no obligation and no pressure to sign a contract.
Step 5: Open Your Insurance Claim
Once you have documentation in hand, call your insurance company to open a claim. Have the following ready:
- The date of the storm
- A general description of the damage you’ve documented
- Your policy number
- The inspection report from your contractor (if you have it)
When you speak with your insurance company:
- Report exactly what happened: storm damage on [date], visible damage to roof, gutters, and siding. Be factual and specific.
- Don’t minimize or exaggerate: say what you observed.
- Don’t accept or decline anything on the first call: you’re only opening the claim at this stage. No decisions need to be made yet.
- Ask for a claim number and adjuster contact: write this down.
Your contractor can guide you through this conversation and advise you on what to expect from your specific insurer.
Step 6: Prepare for the Adjuster Visit
Your insurer will schedule an adjuster to inspect the damage. Here’s how to prepare:
Have your contractor there. This is the single most impactful thing you can do to protect the value of your claim. An experienced roofing contractor who has already documented the damage in detail can walk the roof with the adjuster, point out every area of concern, and ensure nothing gets overlooked or misclassified.
Have your documentation ready. Print or have ready the contractor’s damage report and your own photos. A well-organized presentation makes a better impression.
Ask questions. You’re entitled to understand what the adjuster is noting and why. If they classify something as normal wear and tear rather than storm damage, ask them to explain their reasoning.
Don’t let the adjuster rush. If they spend 10 minutes on your roof and are ready to leave, it’s okay to say “I’d like you to take a look at these specific areas my contractor identified.” You’re not being difficult, you’re protecting your claim.
Step 7: Review the Adjuster’s Report — Don’t Just Accept It
After the adjuster’s visit, you’ll receive a claim estimate, which is a document outlining what your insurance company agrees to pay for and how much.
Review it carefully, or have your contractor review it with you. Common issues:
- Missing items: gutters, flashing, vents, siding, or interior damage that was observed but not included in the estimate
- Undervalued scope: the adjuster may approve repair when replacement is actually needed, or approve a partial repair when the full section requires work
- Incorrect material pricing: estimates are sometimes based on outdated or regional averages that don’t reflect actual replacement costs in your area
- ACV vs. RCV: if your policy pays Actual Cash Value rather than Replacement Cost Value, the adjuster will subtract depreciation from the payout. Make sure you understand which coverage you have. See our guide on ACV vs. RCV roof insurance for more detail.
If anything is missing or incorrect, your contractor can submit a supplemental claim: a formal request to revise the estimate with additional documentation. This is common, expected, and not adversarial. It’s a normal part of the process.
Step 8: Schedule the Repair or Replacement
Once your claim is approved and the scope is finalized, you choose your contractor and schedule the work. You are never required to use a contractor your insurance company recommends. You have the right to hire any licensed, insured Ohio roofing contractor you trust.
Choose a contractor who:
- Is licensed and insured in Ohio
- Has local, verifiable references in your area
- Has been in business long enough to honor their workmanship warranty
- Isn’t a storm chaser who appeared in your neighborhood right after the storm
A Quick Timeline Summary
| Timeframe | Action |
|---|---|
| Immediately | Ensure safety, document everything |
| Within 24 hours | Temporary protection (tarp if needed), call a local roofer |
| Within 48–72 hours | Get contractor inspection, open insurance claim |
| Within 1–2 weeks | Adjuster visit (have contractor present) |
| After adjuster visit | Review estimate, submit supplemental if needed |
| After approval | Schedule and complete repair/replacement |
We’re Here Right After the Storm
Python Roofing responds to storm damage calls throughout Cuyahoga and Medina County. We’ll inspect your roof at no cost, document the damage thoroughly, and walk you through every step of the claims process, from the first phone call to the final shingle.
Schedule a free storm damage inspection or call us at (440) 390-4825. The sooner you get a professional assessment, the stronger your claim will be.